|
|
|
|
September 29, 2011
カテゴリ:Hands-on Series
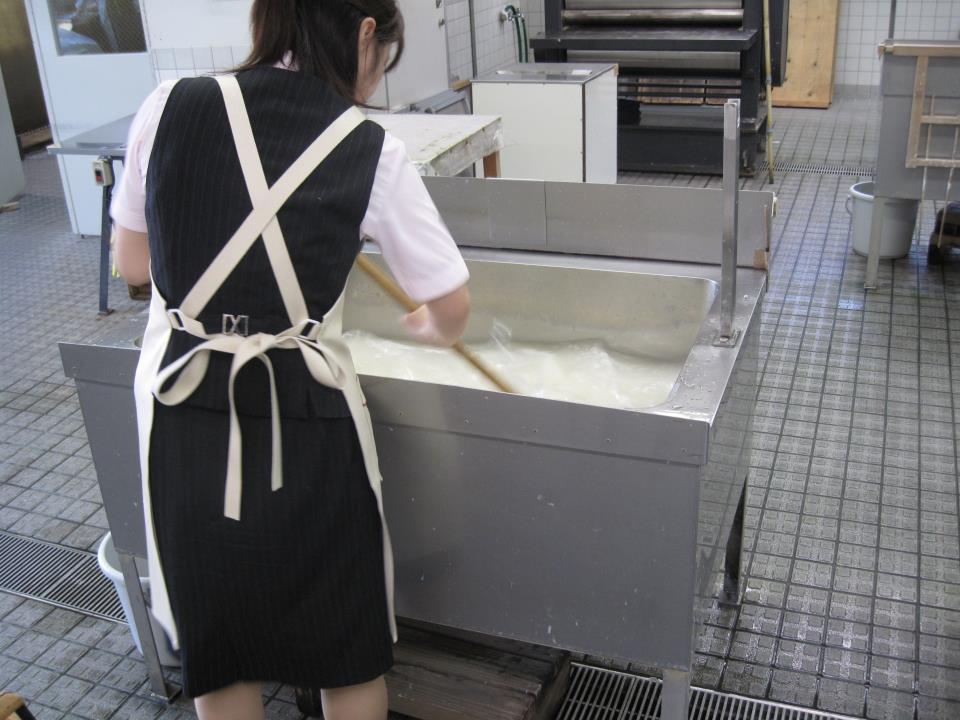
Here are a few pictures to illustrate the process of making Mino-Washi paper, the thinnest yet one of the strongest types of Japanese paper that has been made in the city of Mino (and elsewhere) for over 700 years.
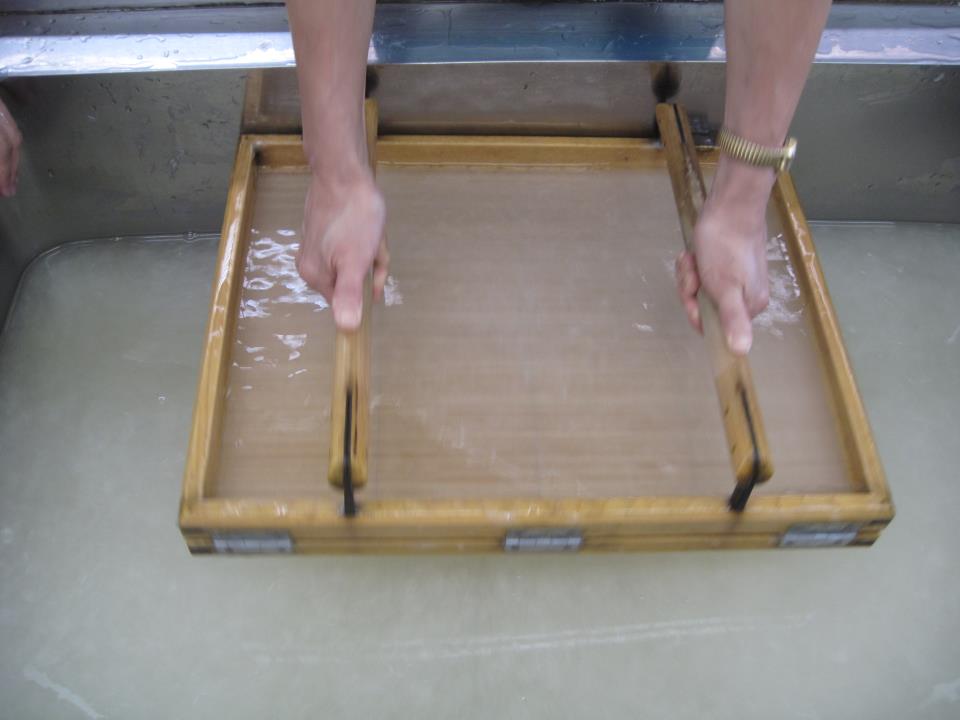
This is the wooden frame used to make the paper, which catches the solution when you scoop it up. You repeat the process of scooping up some solution, swaying the frame side to side (or up to down), and spilling out the liquid numerous times.
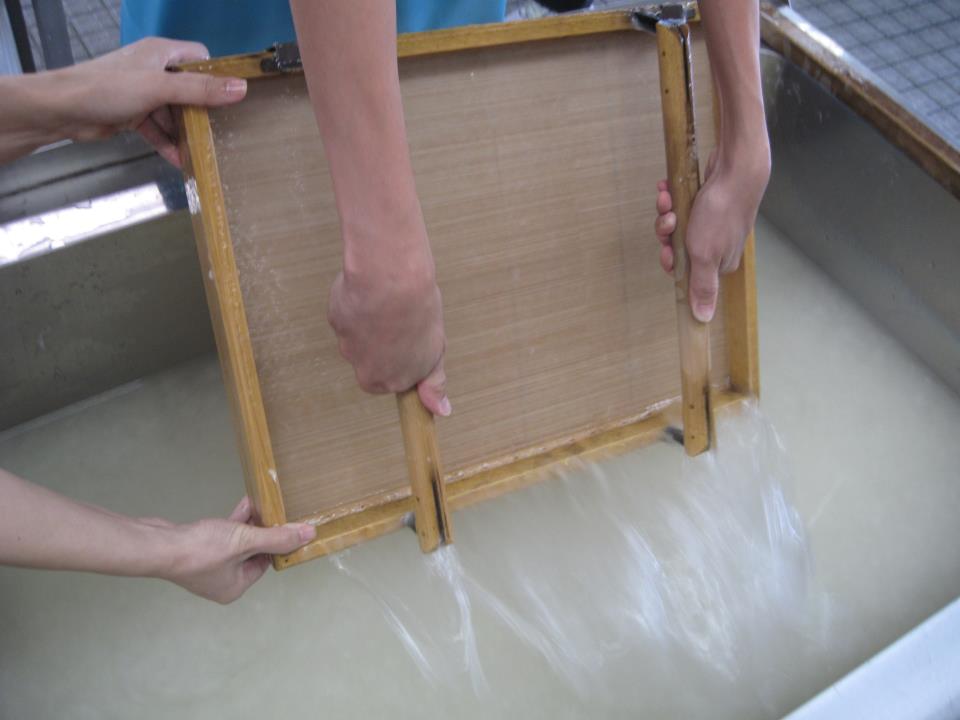
This is the part when you spill the liquid out. Each time you repeat this process of scooping, swaying, and spilling, more and more solution sticks to the base of the frame, forming the thin film that is the paper.
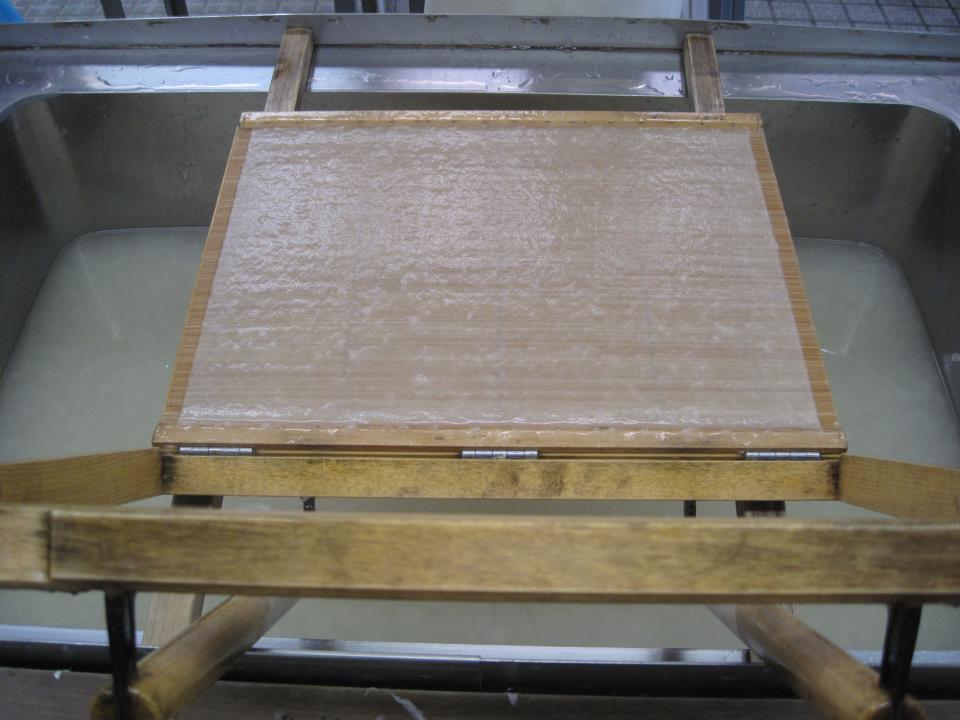
Ultimately, the base--with the film of paper--is detached from the rest of the wooden framework. You can see here that the film is significantly thicker than it was previously.
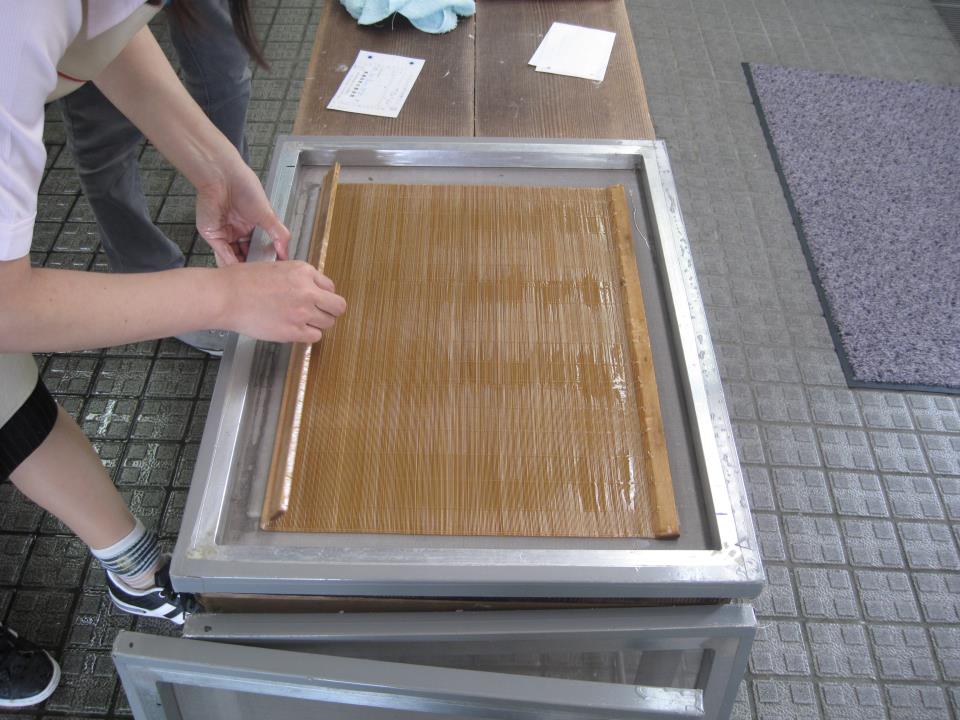
The base, which is made of many long, thin, horizontal strips of wood, is then carefully peeled off the wet paper as pictured.
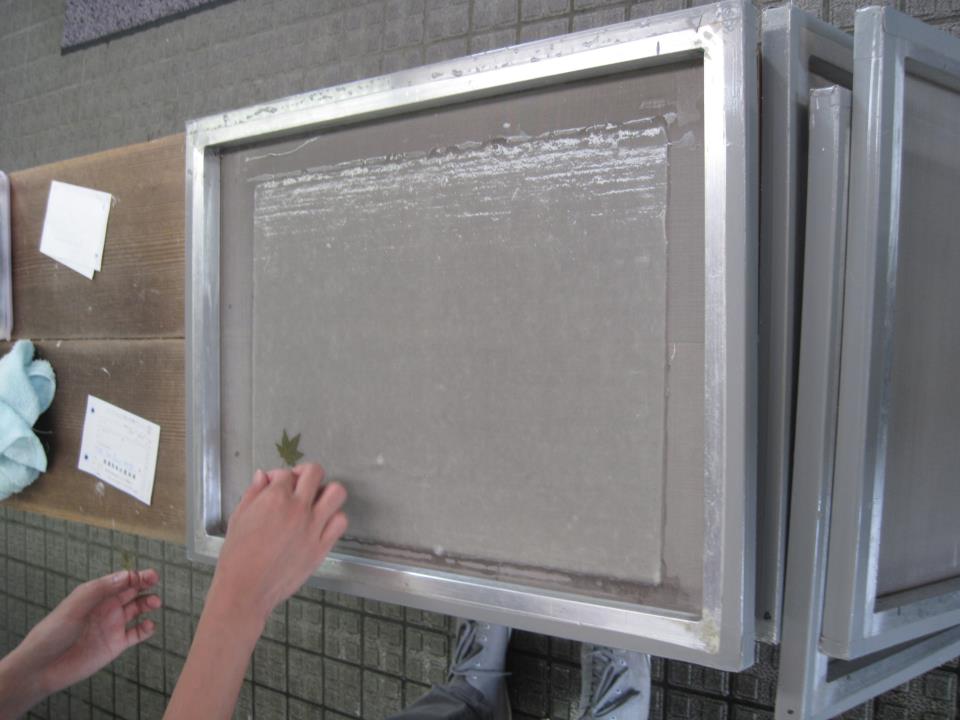
You can then design the paper as you see fit. For example, by decorating it with several small leaves
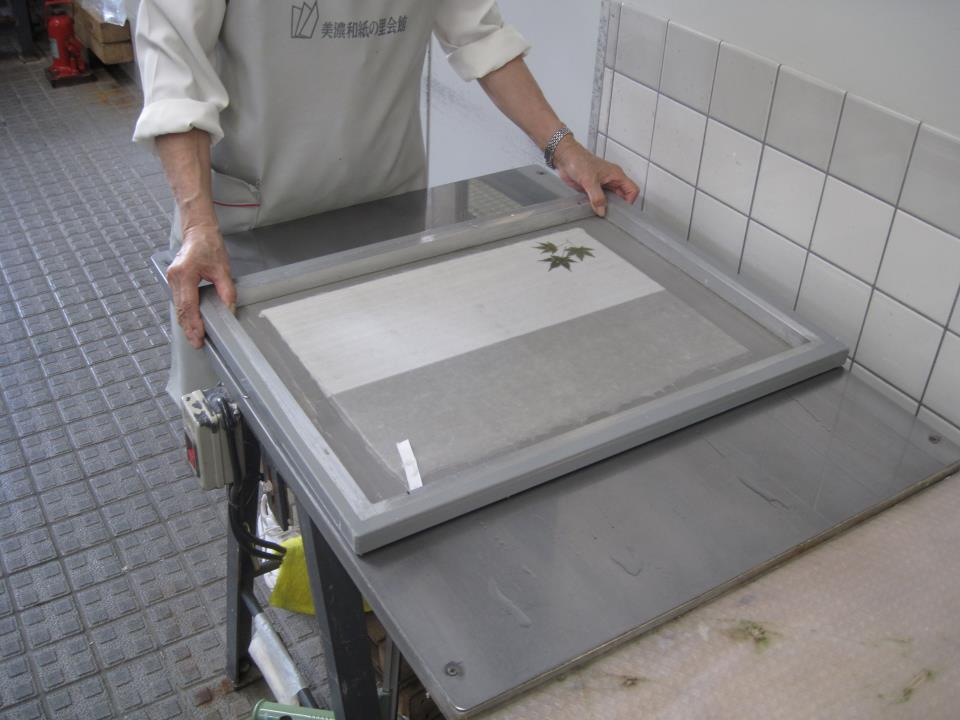
The still-wet paper is run over a vacuum of sorts that sucks the remaining water particles out of the paper. You can see the clear difference in color between the wet part of the sheet (grey) and the dry part that has been run over the vacuum already (much more white).
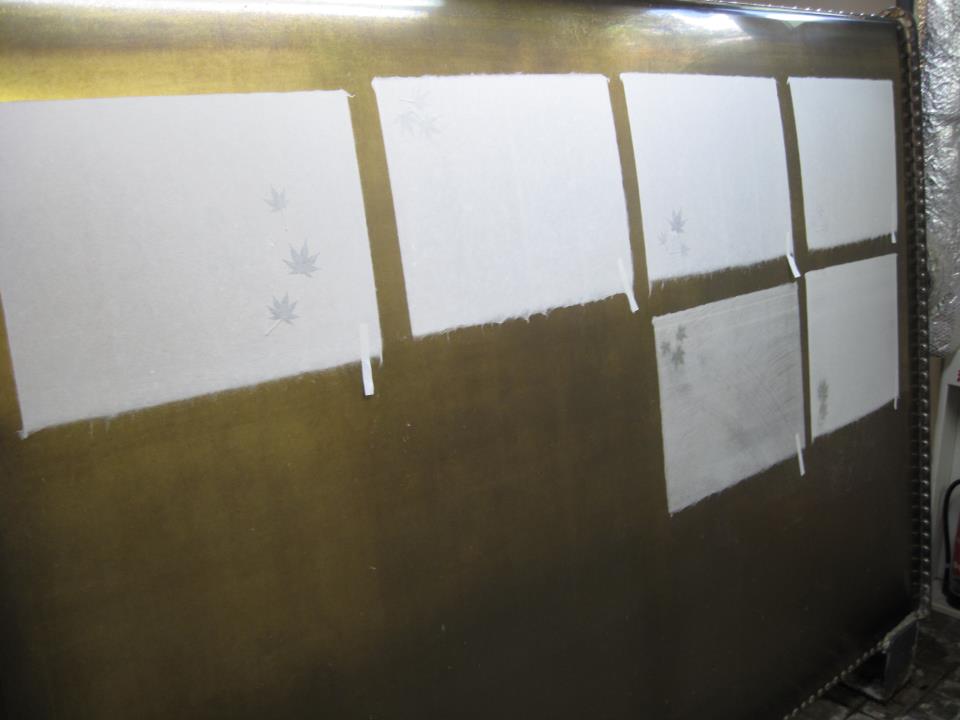
Finally, the sheets are hung up to dry in a under the lights! お気に入りの記事を「いいね!」で応援しよう
Last updated
September 29, 2011 01:13:32 PM
コメント(0) | コメントを書く
[Hands-on Series] カテゴリの最新記事
|